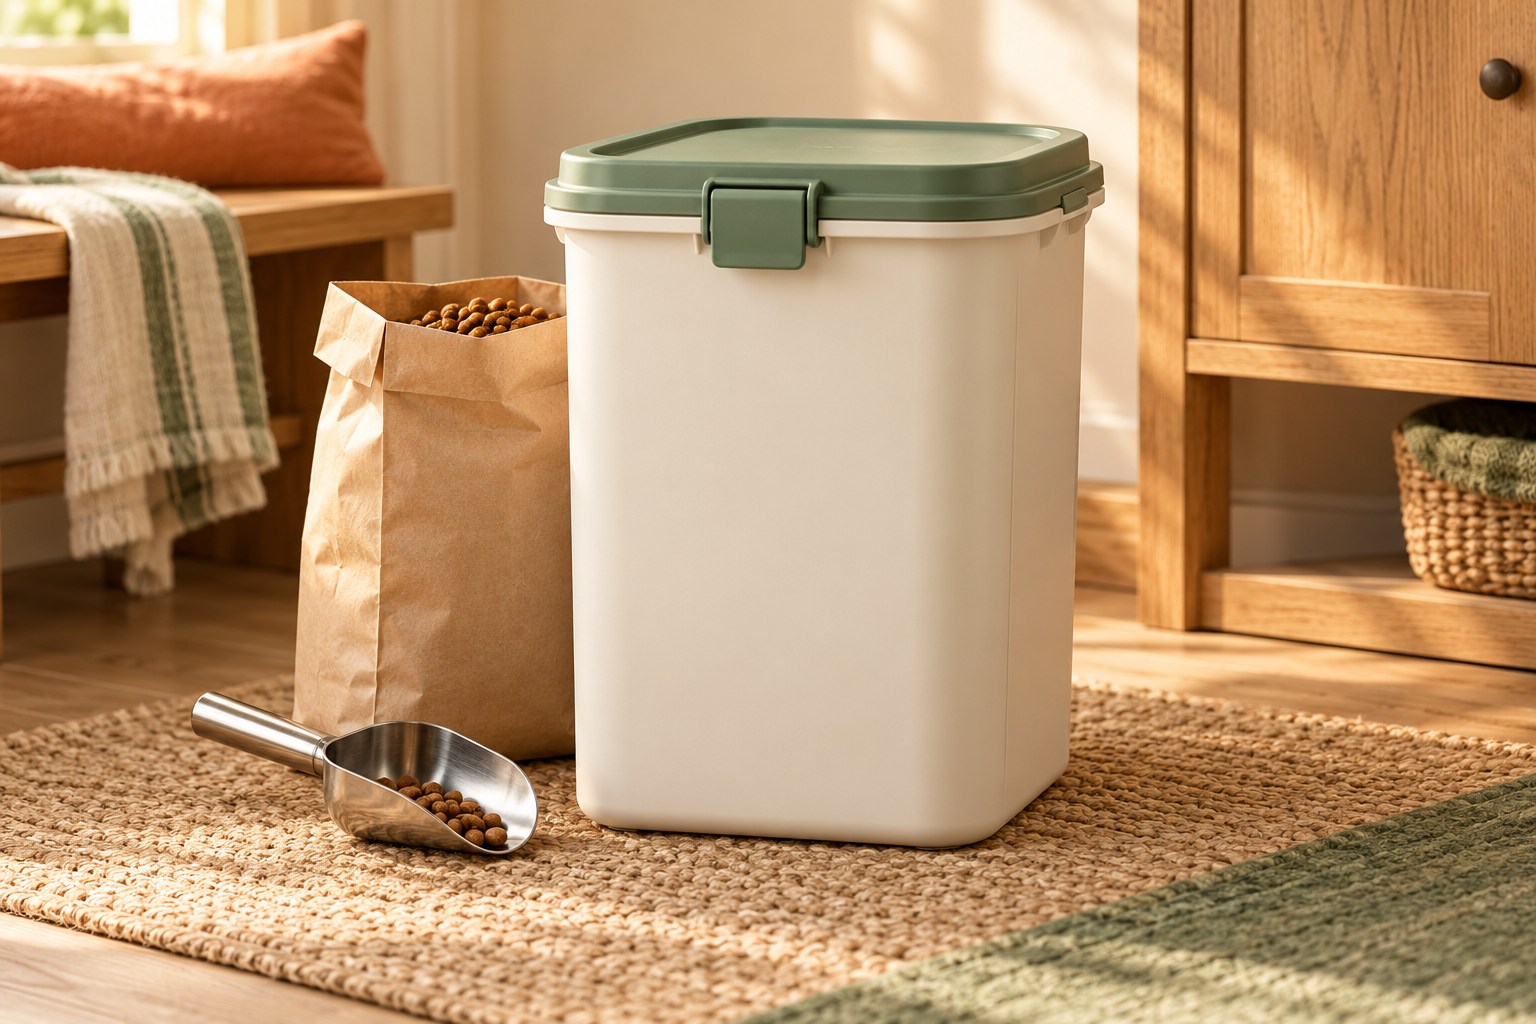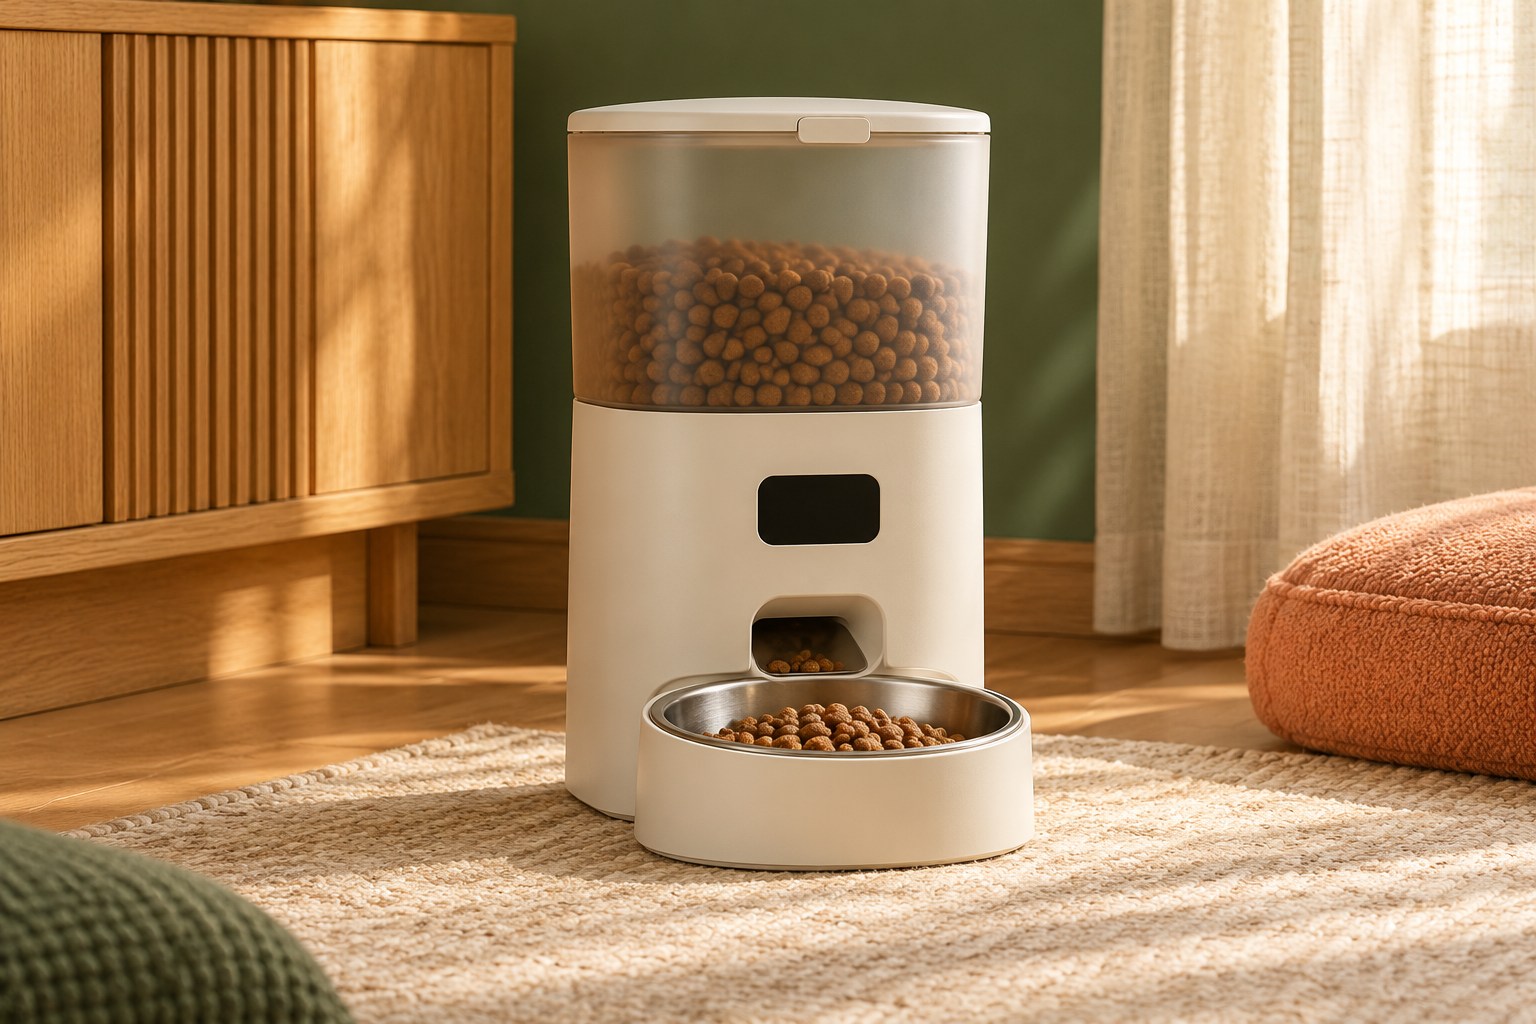
An automatic feeder includes a storage container, dispensing mechanism, outlet, and bowl. Only the last of these is visible during most meals. When comparing products, look for a clear cleaning process for every food-contact surface rather than choosing on reservoir size alone.
The best layout is the one you can disassemble and reassemble correctly on a normal day. If cleaning requires an elaborate sequence of fragile clips, it may be a poor match even when the device offers useful scheduling features.
Identify washable and electrical parts
Read the cleaning diagram and separate parts intended for washing from components that must stay dry. A removable hopper does not imply that the motor base is washable. Keep the manual accessible rather than relying on memory when several similar-looking sections come apart.
Check whether the bowl, lid seal, rotor, and chute are individually removable. Some mechanisms contain parts that the owner should not disassemble. Choose a design with documented access rather than planning to reach hidden spaces with improvised tools.
Look for food-dust traps
Sharp internal corners, screw recesses, and overlapping plastic walls can collect dust. A transparent hopper helps reveal some buildup but may hide the underside of the dispensing rotor. Examine photographs of the empty assembly from several angles.
A broad straight chute is easier to inspect than a narrow bent passage. That does not automatically make one feeder superior overall, but it affects cleaning effort. If the chute needs a dedicated brush, confirm the brush can reach its full length and is available when required.
Plan drying before refilling
Washed parts should be dry before food is added, following the manufacturer's instructions. Deep grooves and hollow handles can retain water after the main surface feels dry. Leave enough counter space to lay components where you can see them.
For a hypothetical evening cleaning session, washing immediately before a scheduled delivery may create pressure to reassemble damp parts. Serve the intended portion separately and allow proper drying time instead. A spare compatible bowl can simplify the routine without rushing the whole device back into service.
Reassemble with a functional check
Match seals, tabs, and rotating parts to their documented positions. A component can appear to fit while sitting slightly above its intended seat. Check the hopper lock and outlet before returning food, then run the permitted manual test while watching the bowl.
Confirm the schedule after any cleaning procedure that involves power removal or reset. Keep a short record of unusual noises or delivery changes that begin after reassembly. Returning to the diagram is more useful than forcing a lid or repeatedly triggering a jammed mechanism.
Use a parts layout to prevent assembly mistakes
Place cleaned components in their assembly order on a suitable drying surface. Keep small seals and removable fasteners identified, and avoid mixing parts from two similar feeders. A photograph taken before permitted disassembly can supplement the manual, particularly when a rotor or gasket has a less obvious orientation. It should not replace the product's instructions.
For a hypothetical pair of matching feeders, finish one before dismantling the second if that makes identification easier. Check each closure against its own housing and verify that no parts remain unexpectedly on the counter. If a piece seems surplus, stop and return to the diagram before running the machine. Correct reassembly is more useful than a quick test that happens to dispense once despite a missing seal or clip.
Keep dust removal separate from jam clearing
If a mechanism has jammed, follow the manufacturer's jam procedure before attempting routine washing. Disconnect or isolate power as directed and do not put fingers or tools near a powered moving part. A cleaning brush is not a lever for freeing a rotor.
After resolving the documented obstruction, inspect the permitted surfaces for wear or damaged parts. Note which food and fill condition were present when the jam occurred. Repeatedly clearing the same obstruction is a reason to contact support or reconsider compatibility, rather than assuming more frequent washing alone will make an unsuitable dispensing path reliable.

For our approach to product claims and illustrations, see the Editorial Policy.