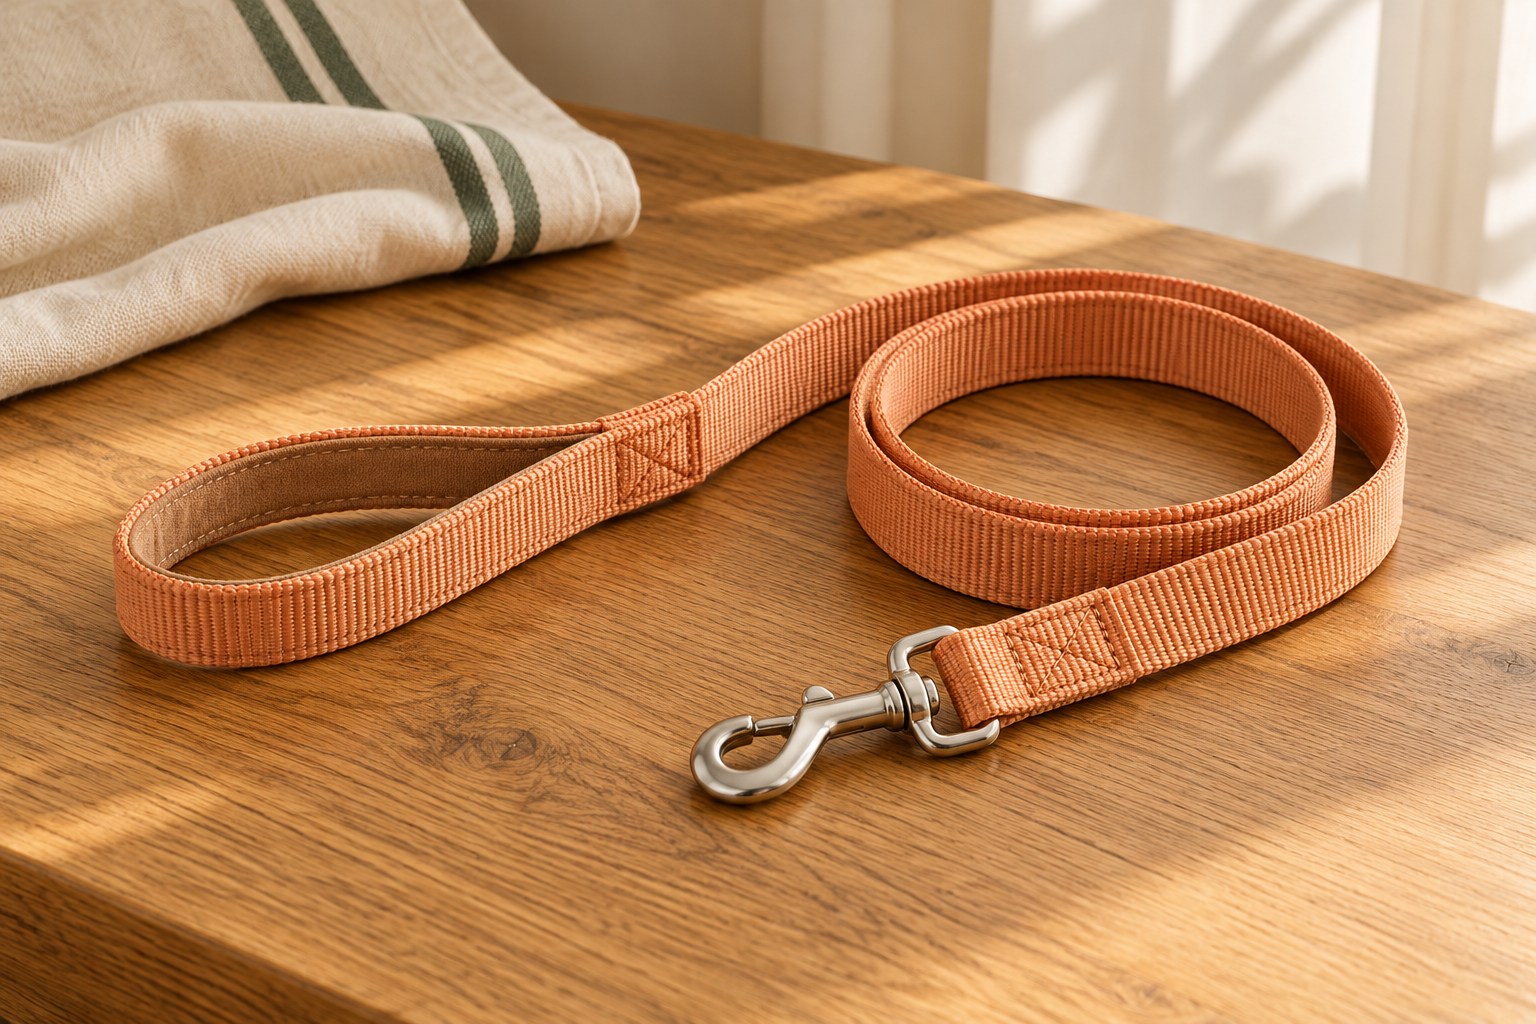
A strong-looking leash can still be frustrating if its clip is difficult to close or does not fit the harness ring properly. The clip must open wide enough, return fully, and move without binding against adjacent hardware. Its weight also matters, particularly for small dogs.
Inspect the connection as an assembly: leash clip, ring, nearby fabric, and the hand that operates it. Product labels alone do not show how those parts interact.
Check clearance around the ring
Open the gate and pass it over the intended collar or harness ring while both are unloaded. There should be enough room to connect without forcing metal against the gate. Once attached, move the clip through the directions it takes during a walk. A crowded ring carrying identification tags, a second connector, and the leash can obstruct movement. Keep the primary attachment accessible and avoid assuming that the largest clip will automatically make the neatest or most dependable connection.
Test operation with your real hands
A tiny thumb lever may work indoors but become difficult with gloves or cold fingers. A locking feature adds a step that must actually be completed each time. Practice connecting and disconnecting without a dog shifting beside you, then repeat calmly with the dog present. Look and feel for full closure rather than relying on a click. If grip or dexterity is limited, compare several mechanisms and choose one you can operate consistently without holding the gate partly open.
Inspect the swivel and joining point
Many clips swivel to reduce twisting, but a swivel can become stiff with sand, hair, or wear. Turn it while unloaded and watch for roughness or excessive play. Examine the leash fold, stitching, or fasteners around the clip as well. Follow the maker’s care guidance before adding oil or other products, since some substances can attract grit or affect surrounding materials. Visible deformation, cracks, or a gate that fails to return are reasons to stop using the equipment.
Make a brief check a habit
Before leaving, connect the leash, release the gate fully, and confirm the clip is actually around the ring rather than a tag split ring or fabric loop. This is especially important in dim hallways. After muddy or coastal walks, remove grit as directed and let the mechanism dry. Keep a suitable spare leash available so damaged hardware does not become an excuse to continue using an uncertain connection. Replacing a complete rated assembly is usually clearer than improvising mixed hardware without manufacturer guidance.
Separate convenient operation from secure engagement
A large opening can make attachment easier, but the gate still needs to close without fabric, hair, or another ring trapped in the way. A locking sleeve can help prevent unintended operation only when it is used as designed and checked. Avoid adding a loose key ring or improvised connector simply because the original clip is difficult to reach; extra parts change movement and create more points to inspect.
Consider a hypothetical harness ring close to a padded handle. The clip may fit the ring yet bind against the handle when the dog turns. Test that rotation while the leash is unloaded and the dog is calm. A smaller compatible clip or a different harness arrangement may work better than a larger one. The goal is a clean moving connection rather than maximum visible metal.
When replacing a leash, bring the intended harness or collar where practical so the actual parts can be compared. Keep damaged clips out of the equipment drawer to prevent accidental reuse. A clear retired-equipment policy is easier than remembering which almost-identical leash has a gate that sometimes fails to return.
For our approach to product claims and illustrations, see the Editorial Policy.