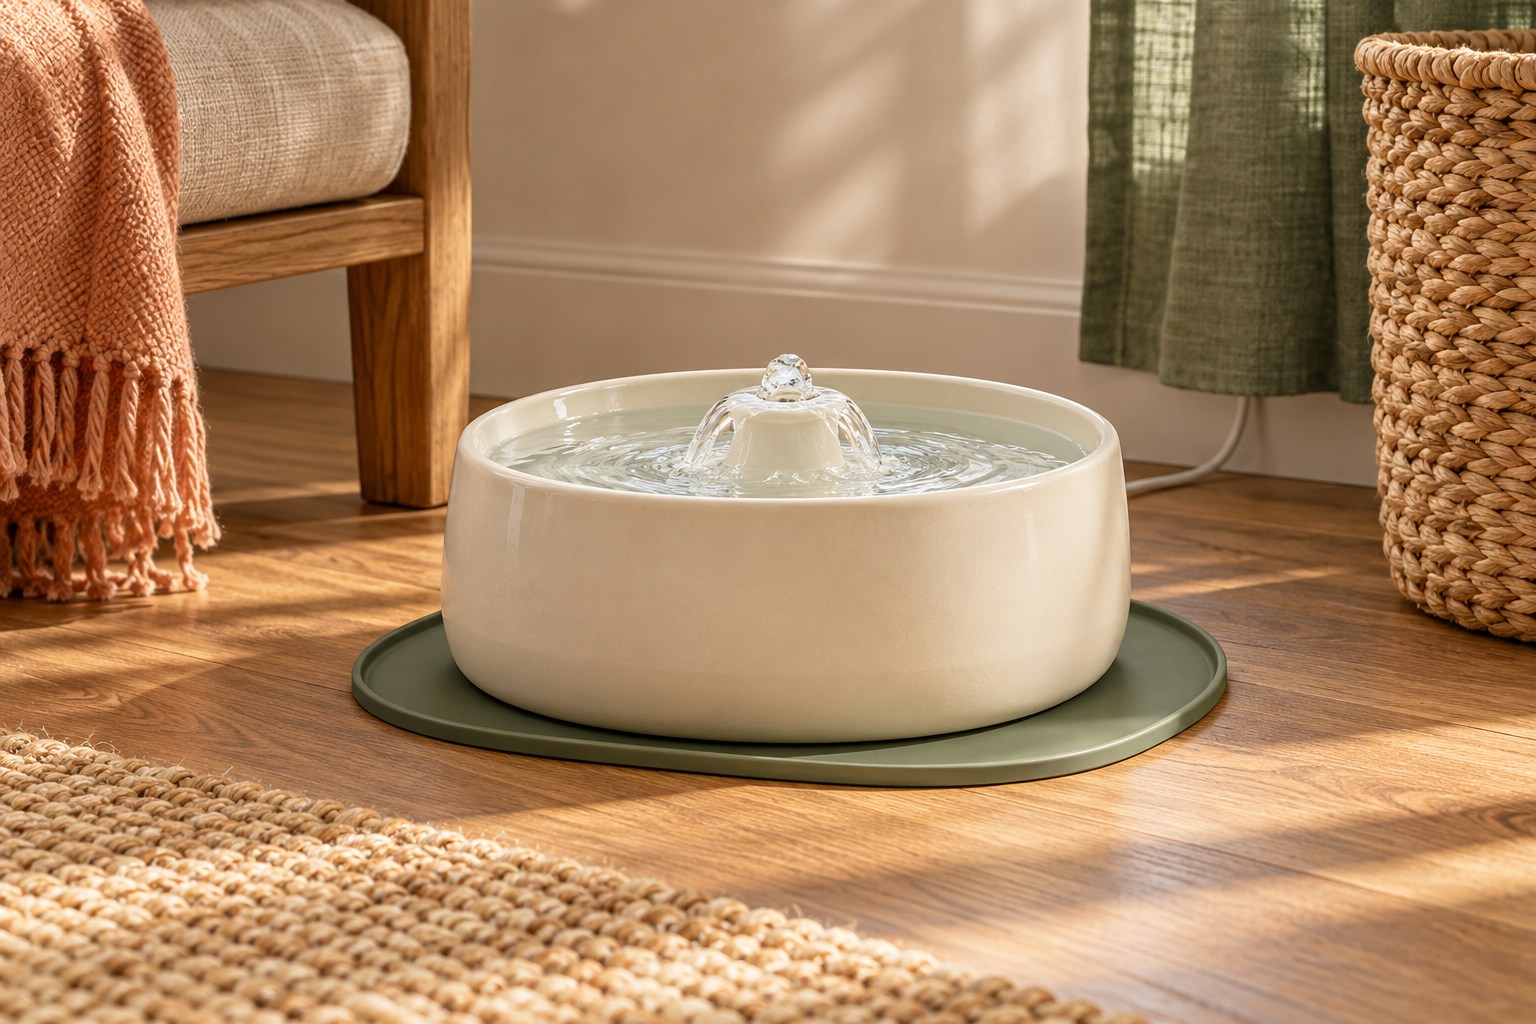
A gravity dispenser releases stored water as the drinking basin level changes. Its appeal is straightforward: a reservoir and bowl can operate without a motor. That simplicity does not remove the need to inspect small valves, seals, and the interior surfaces that remain hidden when the reservoir is fitted.
Choose a capacity you can lift and clean comfortably. The largest available reservoir is not always the most useful one, especially when refilling requires turning a heavy container upside down over a small basin.
Study the refill motion
Find out whether the reservoir fills from the top or must be removed and inverted. Top filling can be convenient, but the cap and internal path still need cleaning access. An inverted bottle may be easy to understand yet awkward when full and wet.
Walk through the motion using the stated full weight as a guide. One litre of water contributes roughly one kilogram before adding the container. If a hypothetical five-litre reservoir would be difficult to control, a smaller model with more manageable refills can be the better daily choice.
Check the opening and valve
A wide reservoir opening lets you see and reach more of the inside. Narrow necks may require a long brush with an appropriate head. Look for a manufacturer-provided disassembly diagram showing which seals and valve pieces can be removed safely.
The valve should seat predictably when the reservoir is attached. Check for alignment marks or a positive fit rather than relying on force. If a seal is damaged, replace it with the specified part; improvised material can prevent the mechanism from working as designed.
Consider basin balance
The reservoir raises the dispenser's centre of mass. A tall narrow bottle on a small base may be easier to disturb than a lower, broader design. Test the intended location for accidental contact from people, furniture, and enthusiastic pets.
A mat can catch small drips, but it cannot correct a poor fit between reservoir and base. Set the dispenser on a level surface and verify that all locking points are engaged. Watch the first refill cycle while you are present so a leaking connection does not go unnoticed.
Keep the water path accessible
Remove and clean the basin according to the instructions rather than wiping only the visible drinking area. Water-contact surfaces extend beneath the reservoir and around its outlet. Dry removable parts as directed before reassembly, paying particular attention to seals and recessed fittings.
A transparent reservoir helps you see the remaining water, but clarity alone is not proof of cleanliness. Plan a routine that includes the inside, cap, and valve. Keep a separate ordinary bowl available while the dispenser is disassembled so cleaning does not have to be rushed.
Choose the refill point before choosing capacity
A reservoir's neck must fit beneath the tap or be easy to fill using a suitable jug. Measure that clearance with the cap removed. Some tall containers fit the storage position but cannot stand under the household faucet, which introduces another transfer step and more opportunities for drips. A shorter reservoir may be more convenient despite holding less.
If filling requires inversion, practise the supported attachment motion with a small manageable amount first while an ordinary water bowl remains available. Check whether the reservoir can be held securely without covering its outlet or pinching fingers between parts. Do not carry the assembled dispenser by a top cap unless the manufacturer specifically identifies it as a handle. The refill procedure should remain controlled when hands are wet.
For our approach to product claims and illustrations, see the Editorial Policy.